DIY 2U Heatsink-Fan Assembly
Contents
DIY 2U Heatsink-Fan Assembly
Unfortunately, no low profile (2U) active cooling solution is currently sold by Raptor Computing Systems. The good news is that it is fairly simple to modify the AVC TL2HS2 2U CPU cooler into an active HSF. One only needs to manufacture a shroud which clears the extrusion of one of the retention mechanisms.
Fans Tested
- Everflow F126025BU (12V, 60mm, 4-pin)
- Evercool EC6025H12BP (60mm x 25mm, 4-pin)
Required Parts
- TLSHS2 heatsink
- 60mm 4-pin fan
- 6cm PVC pipe joint (6cm inner diameter)
- 4x washers
- 8x ~18cm electrical zip-ties
- (Optional) Engine enamel
Creating The Fan Shroud
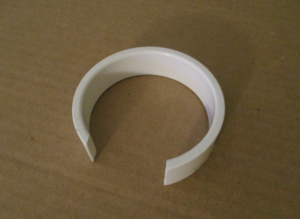
Cut the PVC joint across to the length of roughly 25mm, essentially resulting in a plastic "ring". I recommend overestimating your measurement as 25mm is the minimum distance for this shroud to clear the retention latch. Next, cut a 33mm wide gap into the bottom of the ring. This opening is to fit over the latch. File the edges appropriately.
(Optional) If you are going for a certain color, spray the shroud with engine enamel. This paint should not cause any issues against a high temperature heatsink.
Assembling The Fixture
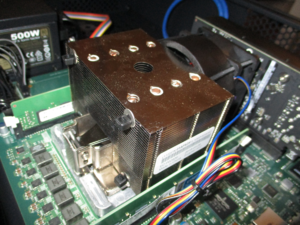
String washers onto four of the zip-ties. This precaution is so that the tie heads do not warp the cooling fins. Next, run the zip-tie shank through the second to top and second from bottom row of the heatsink's cooling fins, outside of the rows of copper runs.
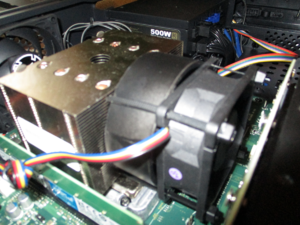
Place the fan shroud over the retention latch on the opposite side and route the zip-ties around it on the outside and through the screw holes of your 60mm fan. With the remaining four zip-ties, remove the entirety of their shanks so that you only have the heads. Use these heads to clamp off the other end of the zip ties protruding from the fan's screw holes.
Notes
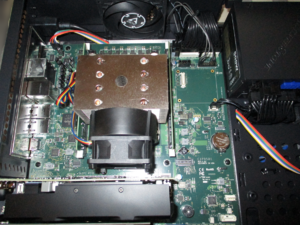
There will inevitably be some gaps but these do not appear to diminish the airflow through the TLSHS2 by any significant margin. In testing, this assembly has been very effective at keeping a 4-core IBM CP9M01 at around 50°C and is no louder than other conventional desktop cooling solutions.


