Difference between revisions of "Dual 92mm fan CPU"
Jump to navigation
Jump to search
| Line 10: | Line 10: | ||
(Noctua NF-A9 Pictured) | (Noctua NF-A9 Pictured) | ||
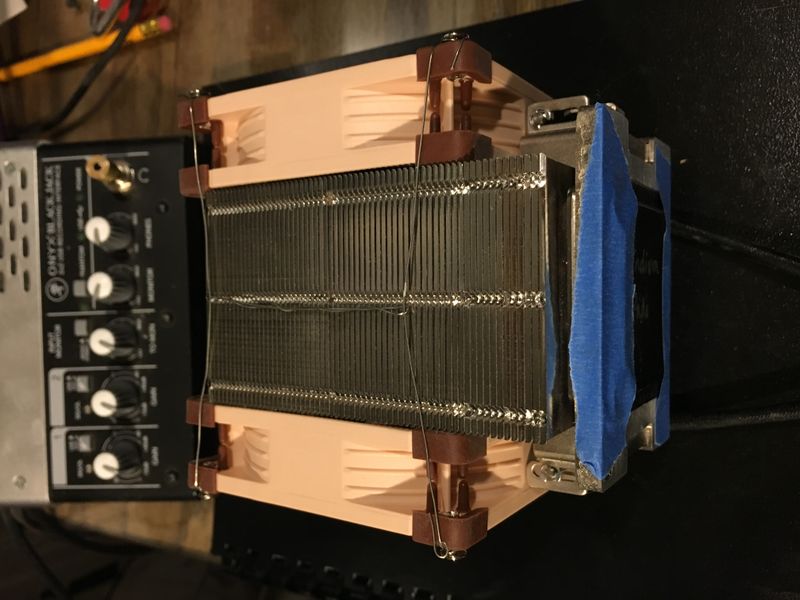
| − | [[File:3U CPU NF-A9 01.JPG|left|thumb|800px]] | + | [[File:3U CPU NF-A9 01.JPG|left|thumb|800px|Attached using a thin, but stiff, solid stainless steel wire to connect to partially inserted fan screws.]] |
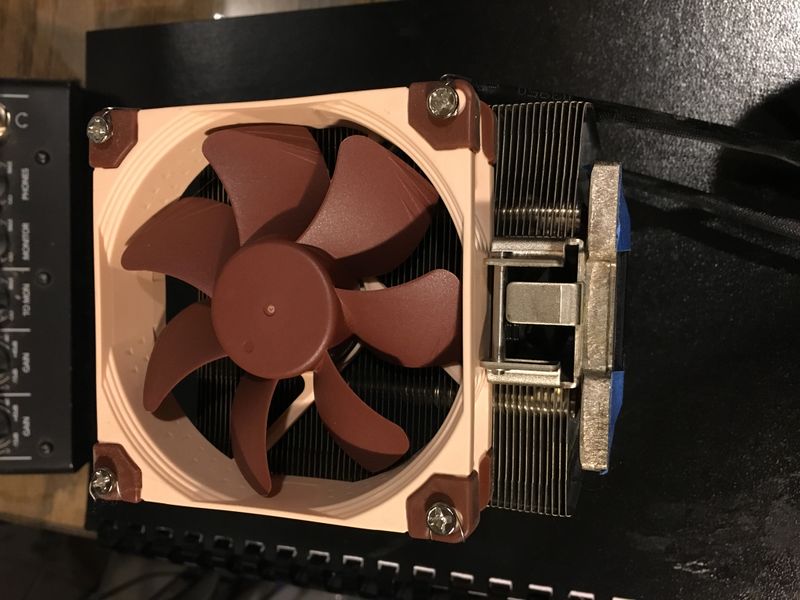
| − | [[File:3U CPU NF-A9 02.JPG|left|thumb|800px]] | + | [[File:3U CPU NF-A9 02.JPG|left|thumb|800px|Fan is a little crooked, in this photo, from being handled. Could add another strand to prevent fan from moving, but it doesn't seem necessary at this point since the fans seem pretty snug once placed.]] |
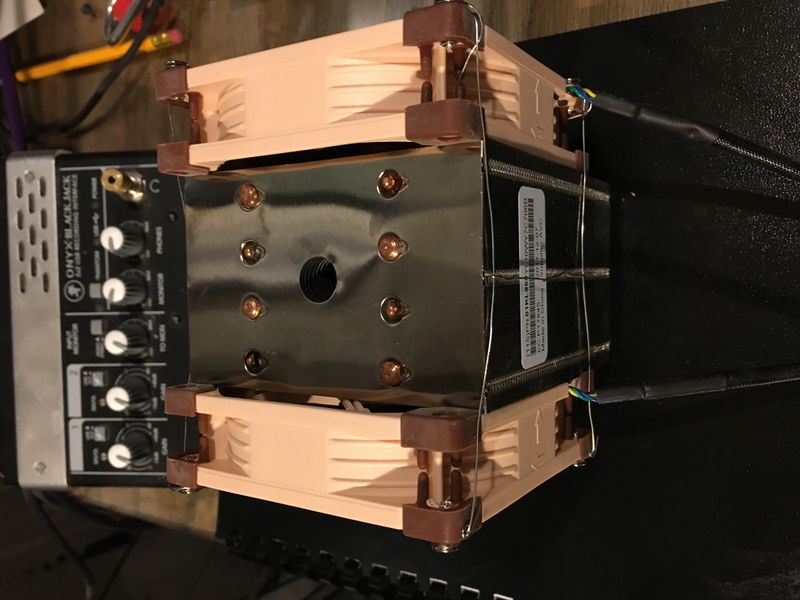
| − | [[File:3U CPU NF-A9 03.JPG|left|thumb|800px]] | + | [[File:3U CPU NF-A9 03.JPG|left|thumb|800px|Due to the placement of the heat sink retention mechanism, the fans stand about a centimeter above the top of the heat sink.]] |
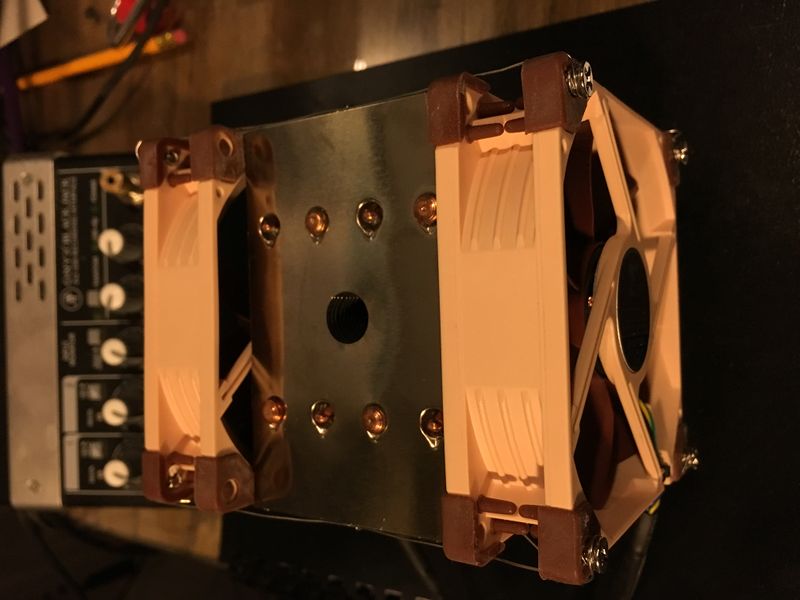
[[File:3U CPU NF-A9 04.JPG|left|thumb|800px]] | [[File:3U CPU NF-A9 04.JPG|left|thumb|800px]] | ||
Revision as of 09:18, 31 March 2019
Dual 92mm Fan CPU Cooling
It is recommended to choose a high quality fan for this modification. Also, ensure adequate airflow through the chassis.
Fans Used
- Noctua NF-B9 PWM
- Tested by q66 on single 18 core system. Reports lower max temp under stress testing and lower noise levels over stock. Achieves max turbo boost.
- Noctua NF-A9 PWM
- Pending testing by nashimus on dual 18 core system.
Attaching The Fans
(Noctua NF-A9 Pictured)


